How to draw a realistic flower sketch - pencil or iPad
Wouldn't you love to be able to draw a flower freehand? For all the details to look textured and real and dainty? I won't say it's easy if you've never tried, however, the actual techniques are super simple.
Below I've laid out the process in 3 simple steps. Note that I've used my iPad to sketch this out for convenience, but it shouldn't matter. All the techniques are the same with real pencils.
STEP 1.
Sketch the outline of your reference image. I'm adding the image to Procreate and lowering the opacity so I can see my pencil markings over the top. Alternatively, you can hold your reference image up against a window and trace onto your art paper over the top.
The only way to be able to draw anything freehand is to understand the shape and movement of your subject. By tracing the outline, this gives you a chance to practice drawing the common shapes of your subject, so if you do it often enough, those shapes will become second nature.
STEP 2:
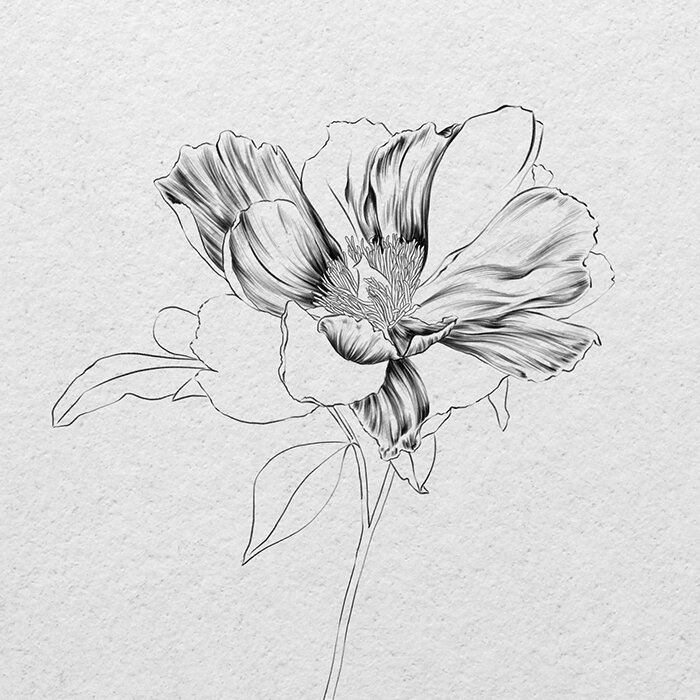
Focus on one petal and start adding some smooth strokes from the bottom and top edges of the flower. Make sure all your strokes follow the natural veins in the petals so that the shadows travel smoothly across in the same direction.
STEP 3:
Continue adding and holding details. Darken the base of the petals to give the flowers a 'curling outward' shape and make sure to vary your strokes so that the vein details don't look too repetitive and forced.
For an artistic effect, you can leave your flower half complete like I have done here, or fully complete each petal as per the image at the top!


